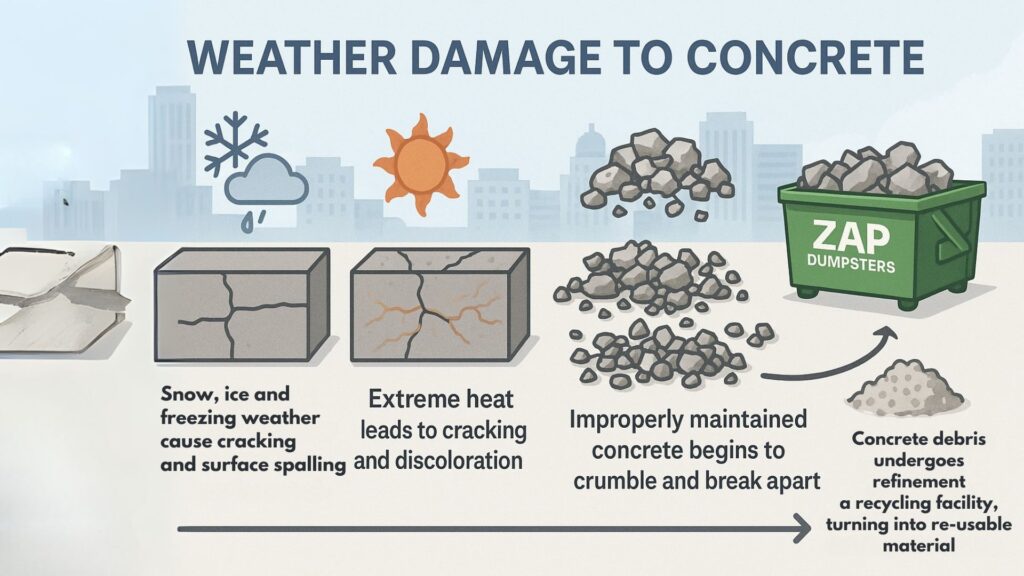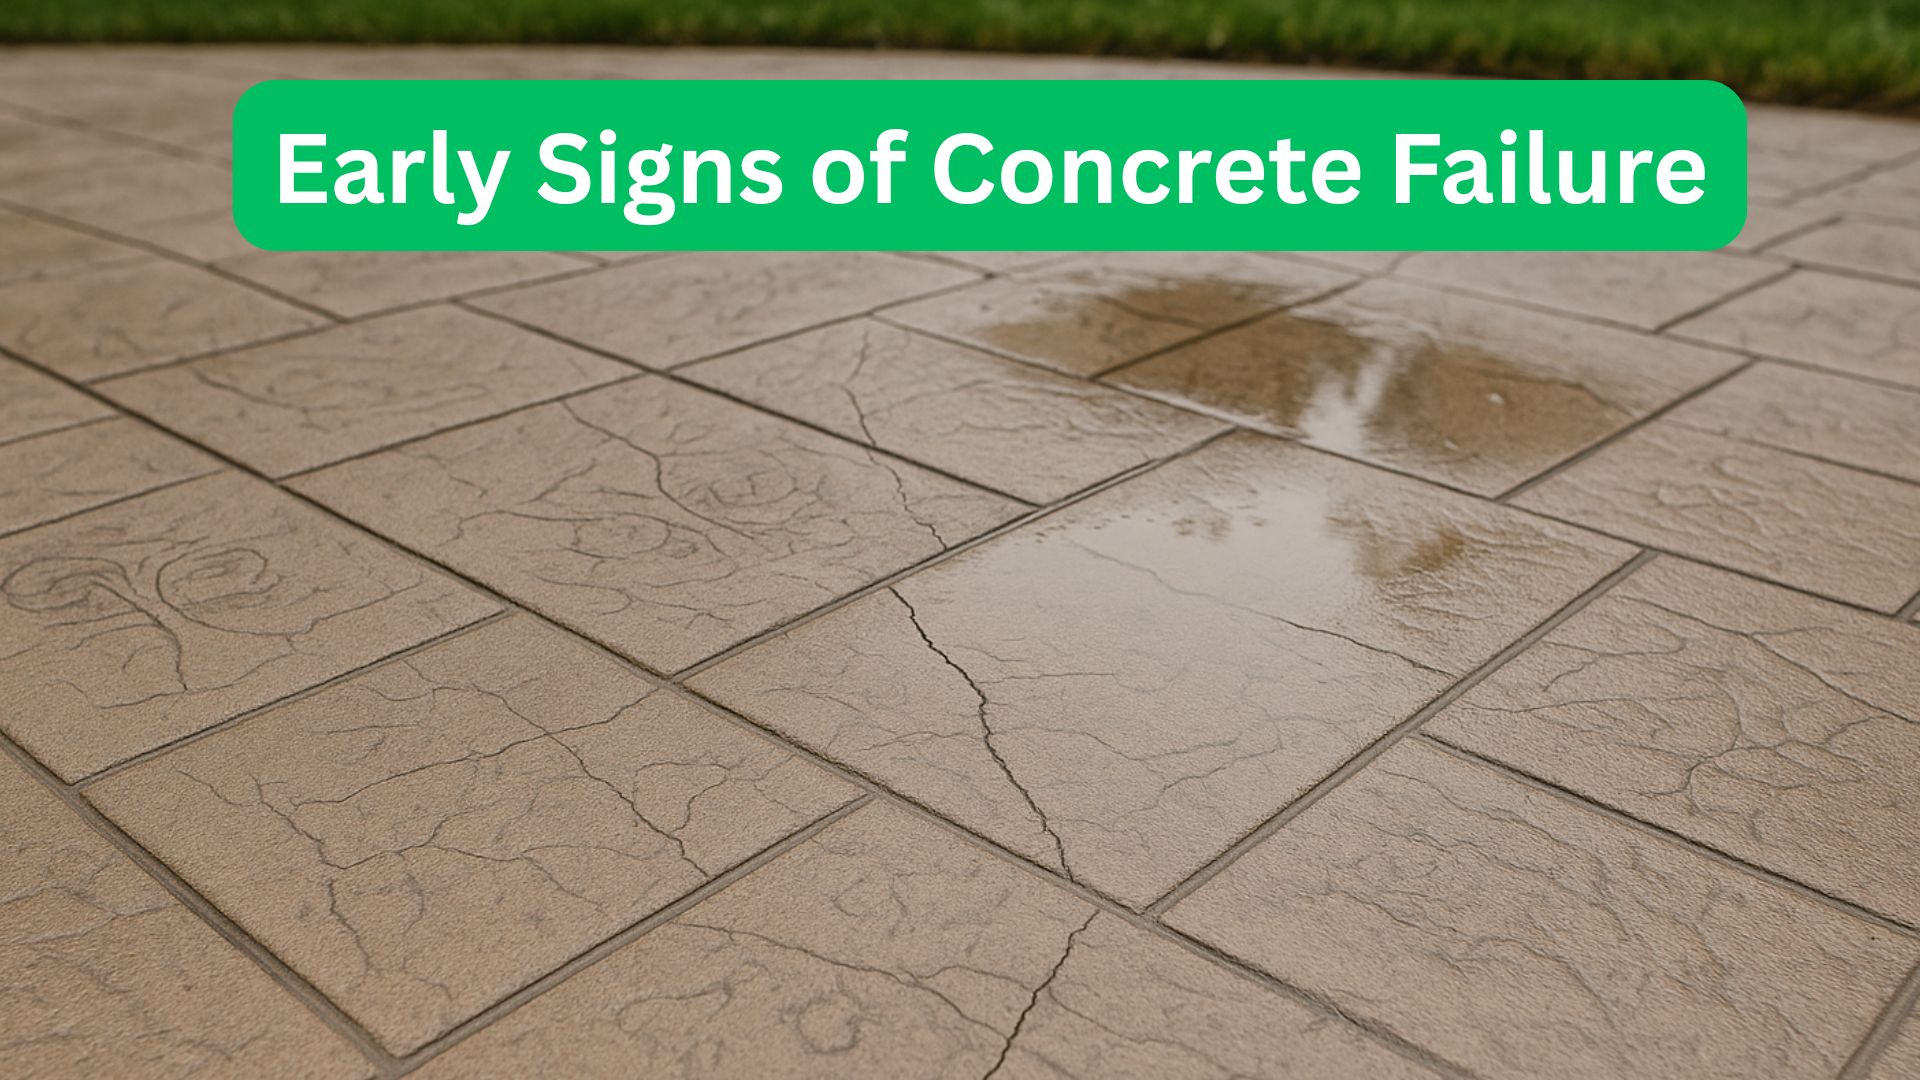
Early signs of concrete failure include hairline cracks, surface scaling, discoloration, uneven surfaces, and pooling water. These warning signs often appear before major structural issues develop. Identifying and addressing these early indicators can prevent extensive damage and costly repairs. Regular inspection of your concrete surfaces helps catch problems in their initial stages.
Understanding Early Concrete Deterioration
Concrete doesn’t typically fail suddenly. Instead, it shows gradual signs of deterioration that progress over time. Recognizing these early warnings helps prevent serious structural problems.
The Concrete Deterioration Timeline
Concrete deterioration follows a predictable pattern:
- Initial microscopic changes – Small internal weaknesses develop but aren’t visible
- Early visible signs – Subtle surface changes appear
- Progressive deterioration – Problems worsen and become more obvious
- Functional impairment – Concrete begins losing its structural integrity
- Structural failure – Major damage requiring extensive repair or replacement
Catching issues in the early visible stage offers the best opportunity for simple, cost-effective repairs. According to the American Society of Civil Engineers (ASCE) Infrastructure Report Card, addressing concrete deterioration early can reduce repair costs by 50-70% compared to waiting until problems become severe.
Why Early Detection Matters
Identifying concrete problems early provides several benefits:
- Cost savings – Repairs are typically less expensive when problems are small
- Simpler fixes – Early-stage repairs often require less technical expertise
- Minimal disruption – Minor repairs cause less interference with property use
- Preserved appearance – Early intervention maintains aesthetic qualities
- Extended lifespan – Properly maintained concrete can last decades longer
For residential concrete like driveways and walkways, early intervention can extend useful life by 10-15 years or more. Calling our team for an assessment might enable you to nip any major works in the bud.
Visual Warning Signs of Concrete Problems
Visual cues provide the most obvious early indicators of concrete issues. Regular visual inspection helps identify problems before they worsen.
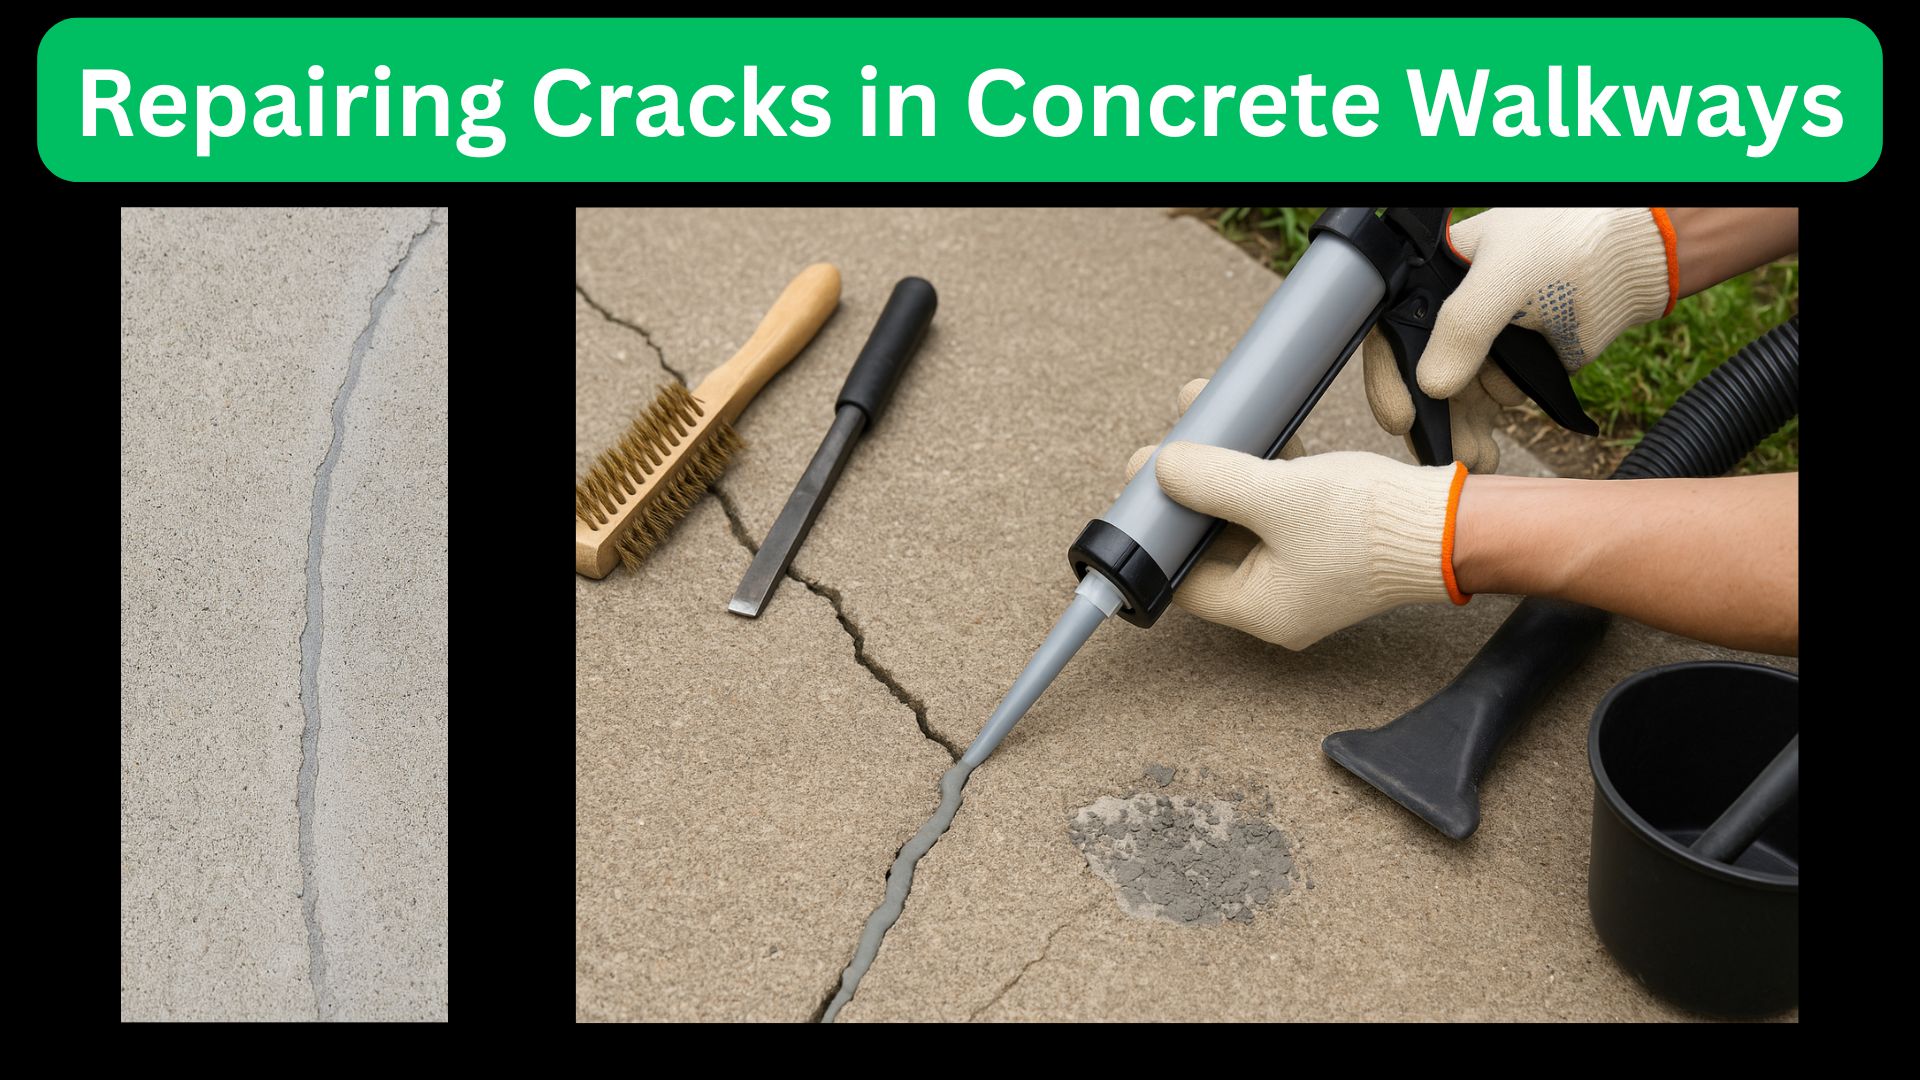
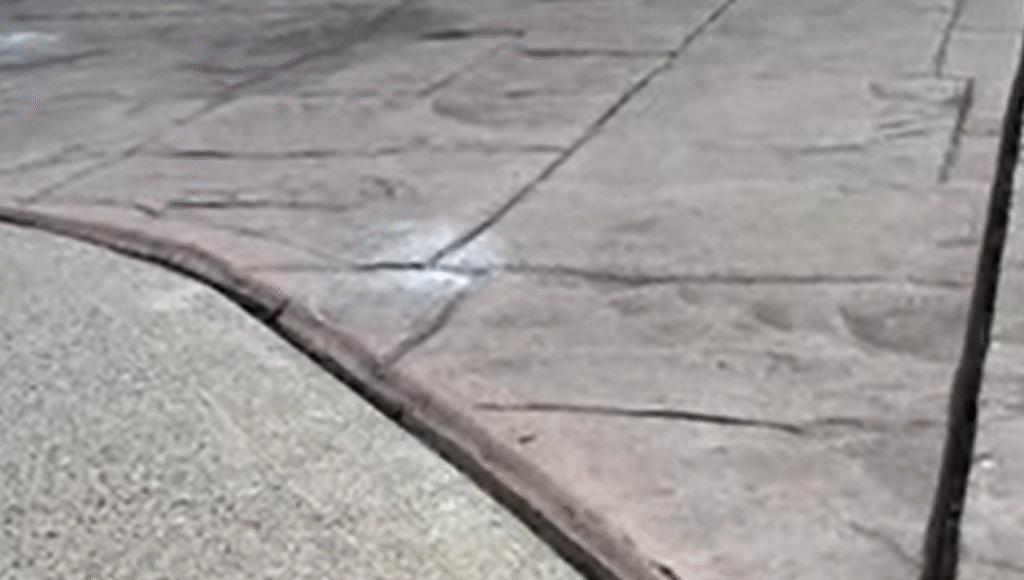
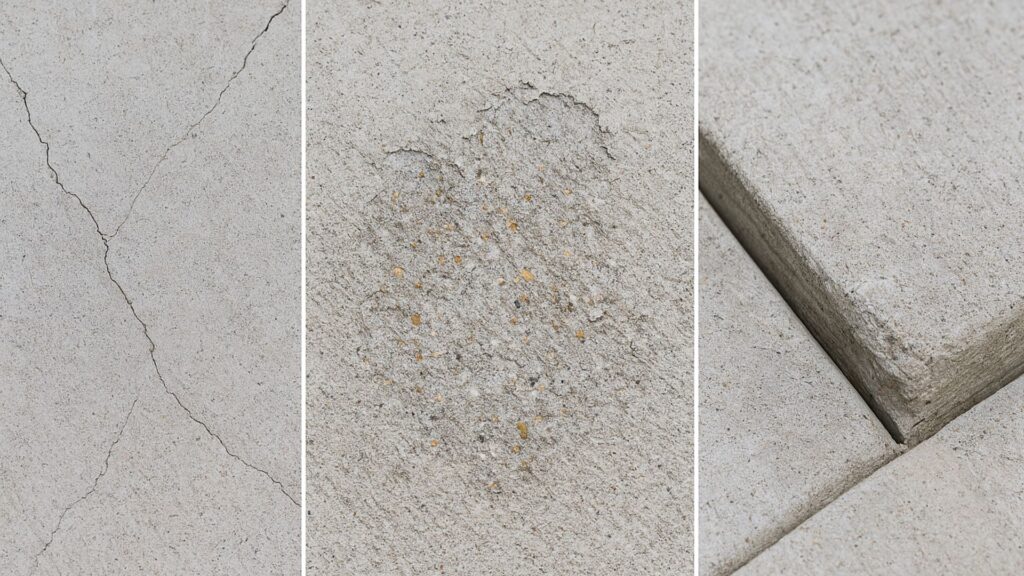
Cracking Patterns and What They Mean
Different types of cracks indicate specific problems:
| Crack Type | Appearance | Potential Cause | Concern Level |
| Hairline Cracks | Very thin, shallow surface cracks | Normal shrinkage during curing | Low (if stable) |
| Pattern/Map Cracking | Interconnected cracks forming a pattern | Improper curing or freeze-thaw damage | Moderate |
| Linear Cracks | Straight cracks running across concrete | Settlement or soil movement | Moderate to High |
| Step Cracks | Cracks where one side is higher than the other | Significant settlement or heaving | High |
| Corner Cracks | Cracks that break off corners | Edge stress or impact damage | Moderate |
| Crazing | Network of fine surface cracks | Rapid drying of surface during curing | Low (cosmetic) |
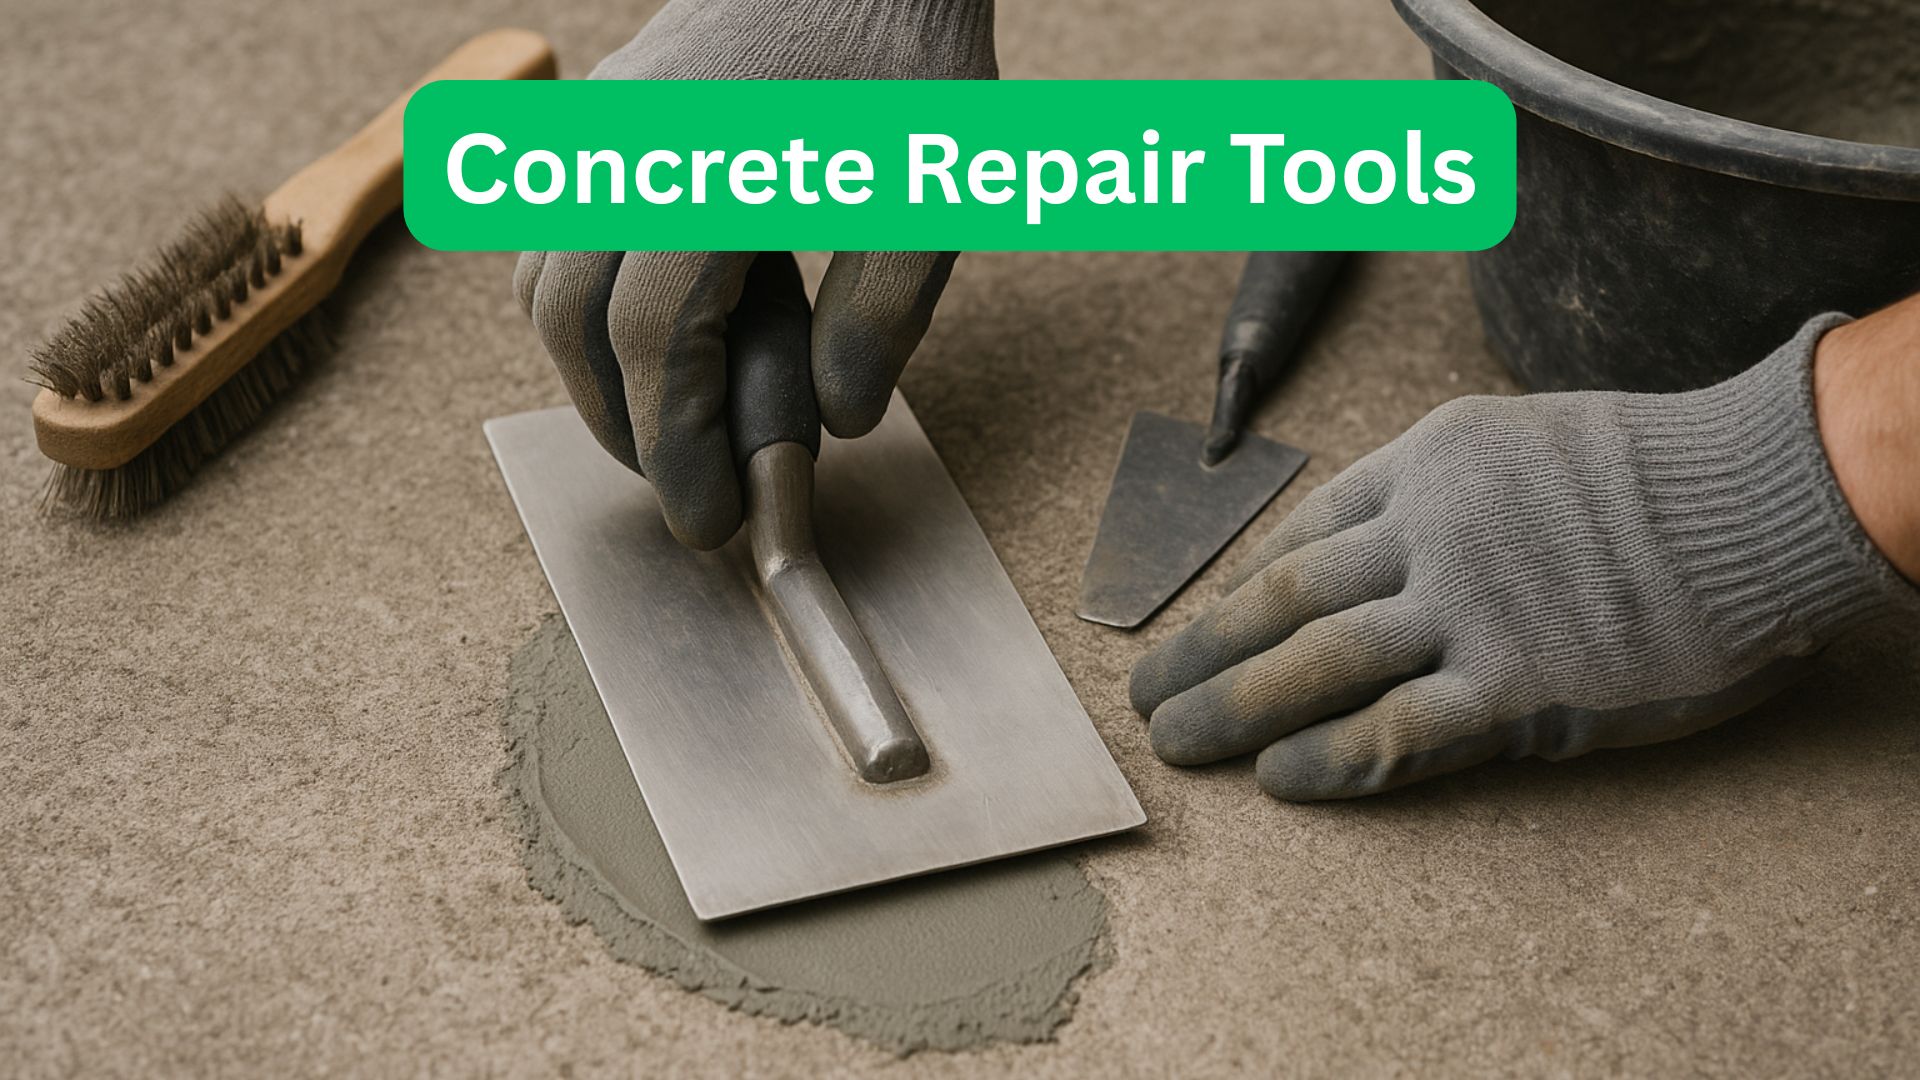
The width, depth, and growth rate of cracks help determine their significance. As detailed in our article on concrete repair tools, different crack types require specific repair approaches and tools.
Surface Texture Changes
Changes in concrete surface texture often signal deterioration:
- Scaling – Areas where the surface flakes away, revealing aggregate beneath
- Spalling – Chunks of concrete breaking away, often near joints or edges
- Dusting – Fine powder appears when the surface is rubbed
- Roughening – Once-smooth surfaces becoming increasingly coarse
- Crazing – Fine, shallow cracks forming a network pattern
These texture changes typically indicate problems with the concrete mix, improper finishing techniques, freeze-thaw damage, or chemical exposure.
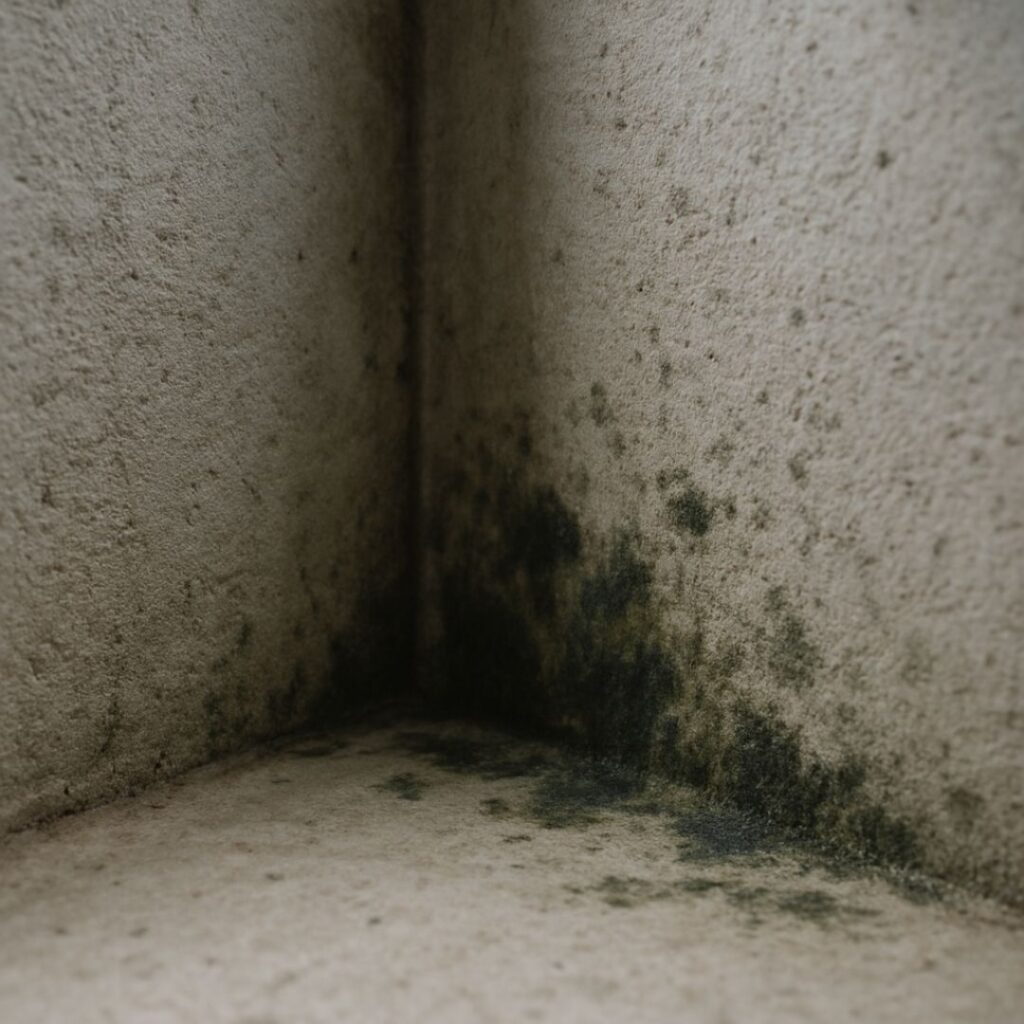
Discoloration and Staining
Color changes can signal various concrete problems:
- White powdery deposits (efflorescence) – Indicates water movement through concrete
- Rust stains – May signal reinforcing steel corrosion
- Dark spots – Often show moisture retention or organic growth
- Persistent dampness – Areas that stay darker due to retained moisture
- Uneven fading – Irregular coloration suggesting internal moisture differences
Discoloration patterns help identify both the type of problem and its underlying cause.
Physical Changes in Concrete Structures
Beyond visual cues, physical changes in concrete provide important early warning signs.
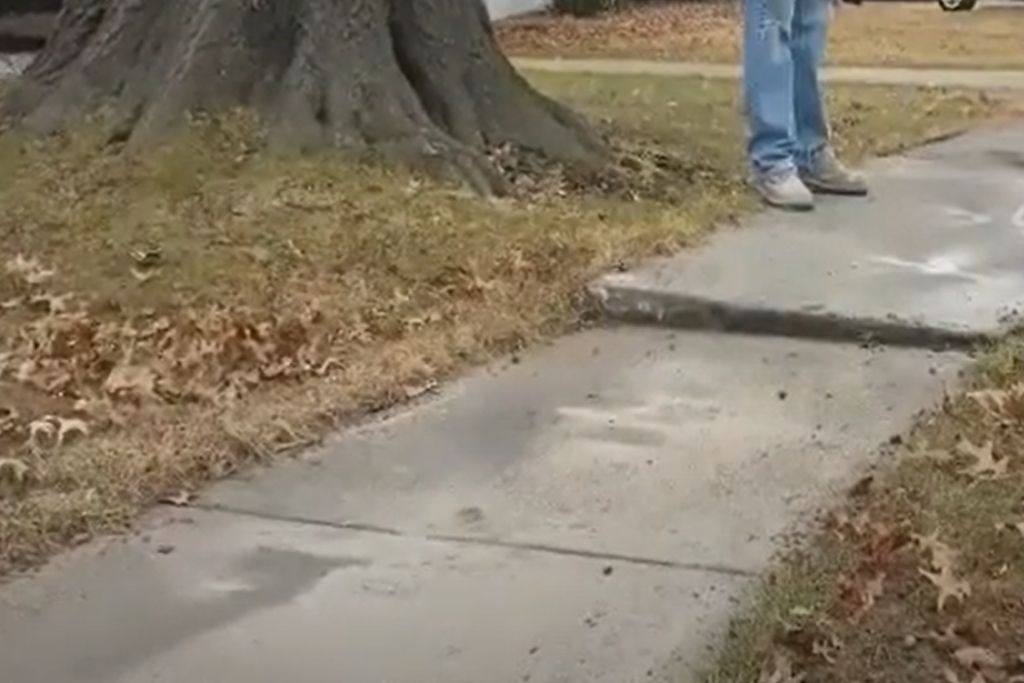
Settlement and Level Changes
Watch for these signs of concrete movement:
- Uneven surfaces – Areas that are no longer level
- Gaps at edges – Spaces between concrete and adjacent structures
- Tilting elements – Concrete that slopes in unintended directions
- Sticking doors or windows – In concrete buildings, indicates foundation movement
- Pooling water – Areas where water collects due to depression formation
Even slight settlement can progress to more serious problems if the underlying cause isn’t addressed. Regular measurements with a level can help detect subtle changes over time.
Water Behavior on and Around Concrete
Water interaction often reveals early concrete problems:
- Slow-drying areas – Spots that stay wet longer than surrounding concrete
- Water seepage – Moisture coming through the concrete
- Puddle formation – Depressions where water collects
- Erosion patterns – Areas where water flow has damaged surrounding soil
- Drainage changes – Altered water flow patterns around concrete structures
Water-related signs are particularly important because moisture often contributes to accelerated concrete deterioration.
Surface Hardness Changes
Concrete should maintain consistent hardness. Early problems include:
- Soft spots – Areas that can be scratched or indented more easily
- Hollow sounds – When tapped with a hammer or hard object, indicating voids
- Surface friability – Concrete that crumbles easily when scratched
- Varying sound transmission – Different sounds when tapped in different areas
- Reduced bounce – Less rebound when dropping a hard object on the surface
These changes often indicate internal deterioration that hasn’t yet become visually apparent.
Environmental Indicators of Potential Failure
Surrounding conditions can provide early warning of concrete problems even before the concrete itself shows visible signs.
Soil and Drainage Warning Signs
The area around concrete structures offers important clues:
- Soil erosion – Especially near edges or underneath concrete
- Poor drainage – Water that pools against concrete structures
- Expanding soil – Signs of soil pushing against concrete
- Sinkholes or depressions – Near or under concrete elements
- Vegetation patterns – Unusual plant growth or die-off near concrete
These environmental factors often contribute to concrete failure and provide early warnings before the concrete itself shows damage.
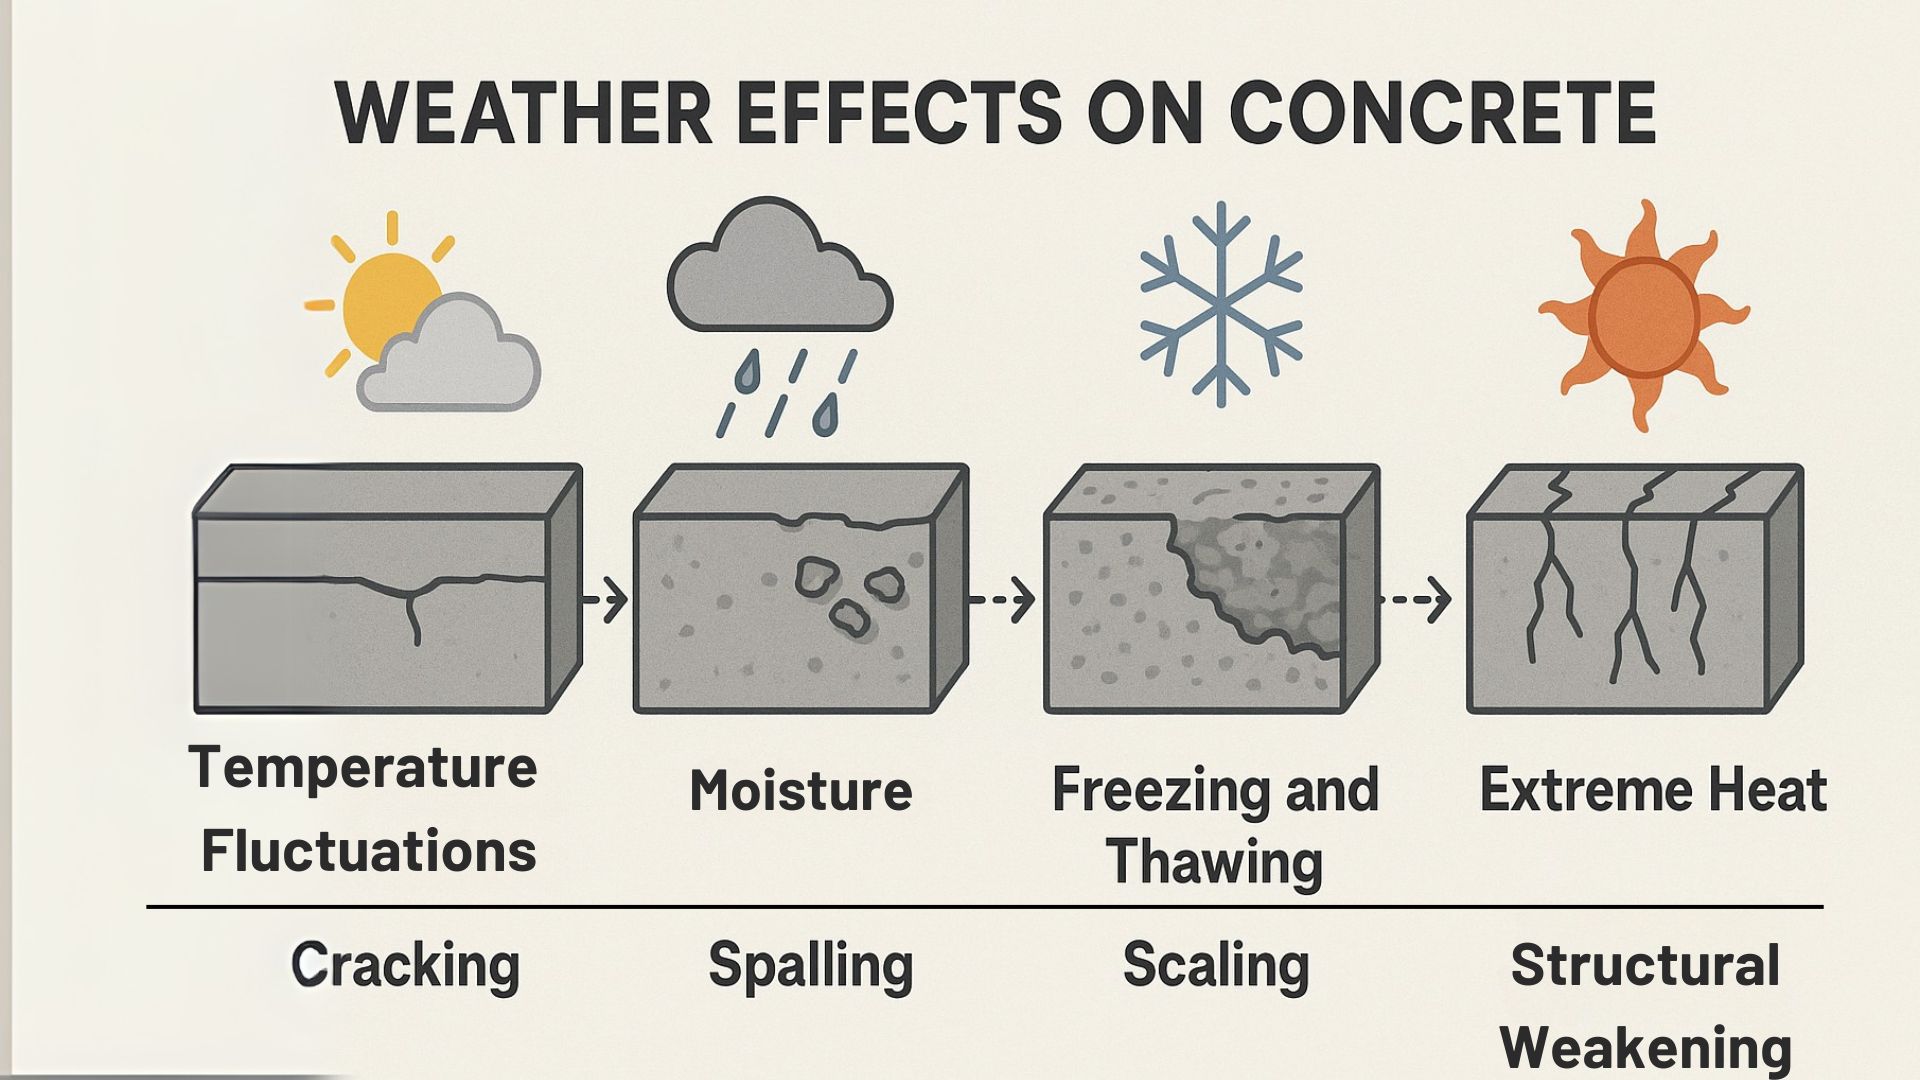
Temperature and Climate Effects
Climate-related early warning signs include:
- Frost heaving – Slight winter lifting that may initially return to normal in spring
- Condensation patterns – Unusual moisture formation on concrete surfaces
- Thermal cracking – Small cracks that appear during extreme temperature changes
- Thaw-period seepage – Water appearing during warming periods
- Surface pitting after freezes – Small depressions forming after freeze-thaw cycles
These climate-related indicators often precede more serious deterioration, especially in regions with freeze-thaw cycles.
Chemical Exposure Indicators
Watch for signs of chemical interaction:
- Etching patterns – Surface roughening in specific areas
- Unusual residue – Powdery or crystalline deposits
- Localized discoloration – Especially around drips or spills
- Accelerated wear patterns – Areas deteriorating faster than surroundings
- Bubbling or flaking sealers – Protective coatings failing in specific areas
Chemical damage often begins subtly but progresses quickly if not addressed.
Non-Visual Detection Methods
Beyond visual inspection, several testing approaches can detect concrete problems early.
Simple Testing Methods for Homeowners
Homeowners can use these techniques to identify potential issues:
- Tap test – Using a hammer or hard object to listen for hollow sounds
- Water test – Observing how water beads or absorbs on the surface
- Scratch test – Using a coin or key to check surface hardness
- Moisture detection – Taping clear plastic to the surface to check for condensation
- Measurement monitoring – Using a level and measuring changes over time
These simple tests can help confirm suspicions raised by visual inspection.
Professional Inspection Techniques
Professional concrete contractors use more advanced methods:
- Schmidt hammer testing – Measures surface hardness
- Moisture meter readings – Detects internal dampness
- Infrared thermography – Identifies temperature differences suggesting voids or moisture
- Core sampling – Extracts small concrete samples for testing
- Ground-penetrating radar – Detects internal voids and reinforcement issues
These professional techniques can detect problems before they become visually apparent. AR Concrete Fayetteville uses these methods to provide accurate assessments of concrete condition.
Common Areas for Early Failure Signs
Certain areas tend to show problems first and warrant special attention during inspections.
Vulnerable Concrete Locations
Pay particular attention to these high-risk areas:
- Joints and edges – Typically the first areas to show deterioration
- Areas exposed to deicing chemicals – Often show early scaling
- Shaded, damp locations – Prone to freeze-thaw damage and biological growth
- High-traffic zones – Experience accelerated wear patterns
- Areas near downspouts – Subject to concentrated water exposure
- Corners and transitions – Experience stress concentration
These vulnerable areas often provide the first warning of larger problems developing throughout the concrete.
Structure-Specific Warning Signs
Different concrete structures display unique early warning signs:
Driveways and Walkways:
- Dark spots in winter (retained moisture)
- Edge crumbling
- Surface scaling near vehicle wheels
- Joint deterioration
Foundation Walls:
- Hairline cracks, especially horizontal ones
- Efflorescence (white powdery deposits)
- Damp spots
- Inward bowing
Concrete Slabs:
- Hollow sounds when tapped
- Slight depressions
- Fine cracking in patterns
- Curled edges
Recognizing these structure-specific indicators helps focus inspection efforts on the most likely problem areas.
Taking Action on Early Warning Signs
Knowing how to respond to early warning signs prevents minor issues from becoming major problems.
Documentation and Monitoring
When you spot potential problems:
- Photograph the area – Create a visual record with good lighting
- Measure precisely – Document crack widths and lengths
- Mark boundaries – Outline affected areas with chalk
- Create a timeline – Note when you first observed the issue
- Establish monitoring points – Place marks to track changes
This documentation helps determine if conditions are stable or worsening and provides valuable information for professionals if repairs become necessary.
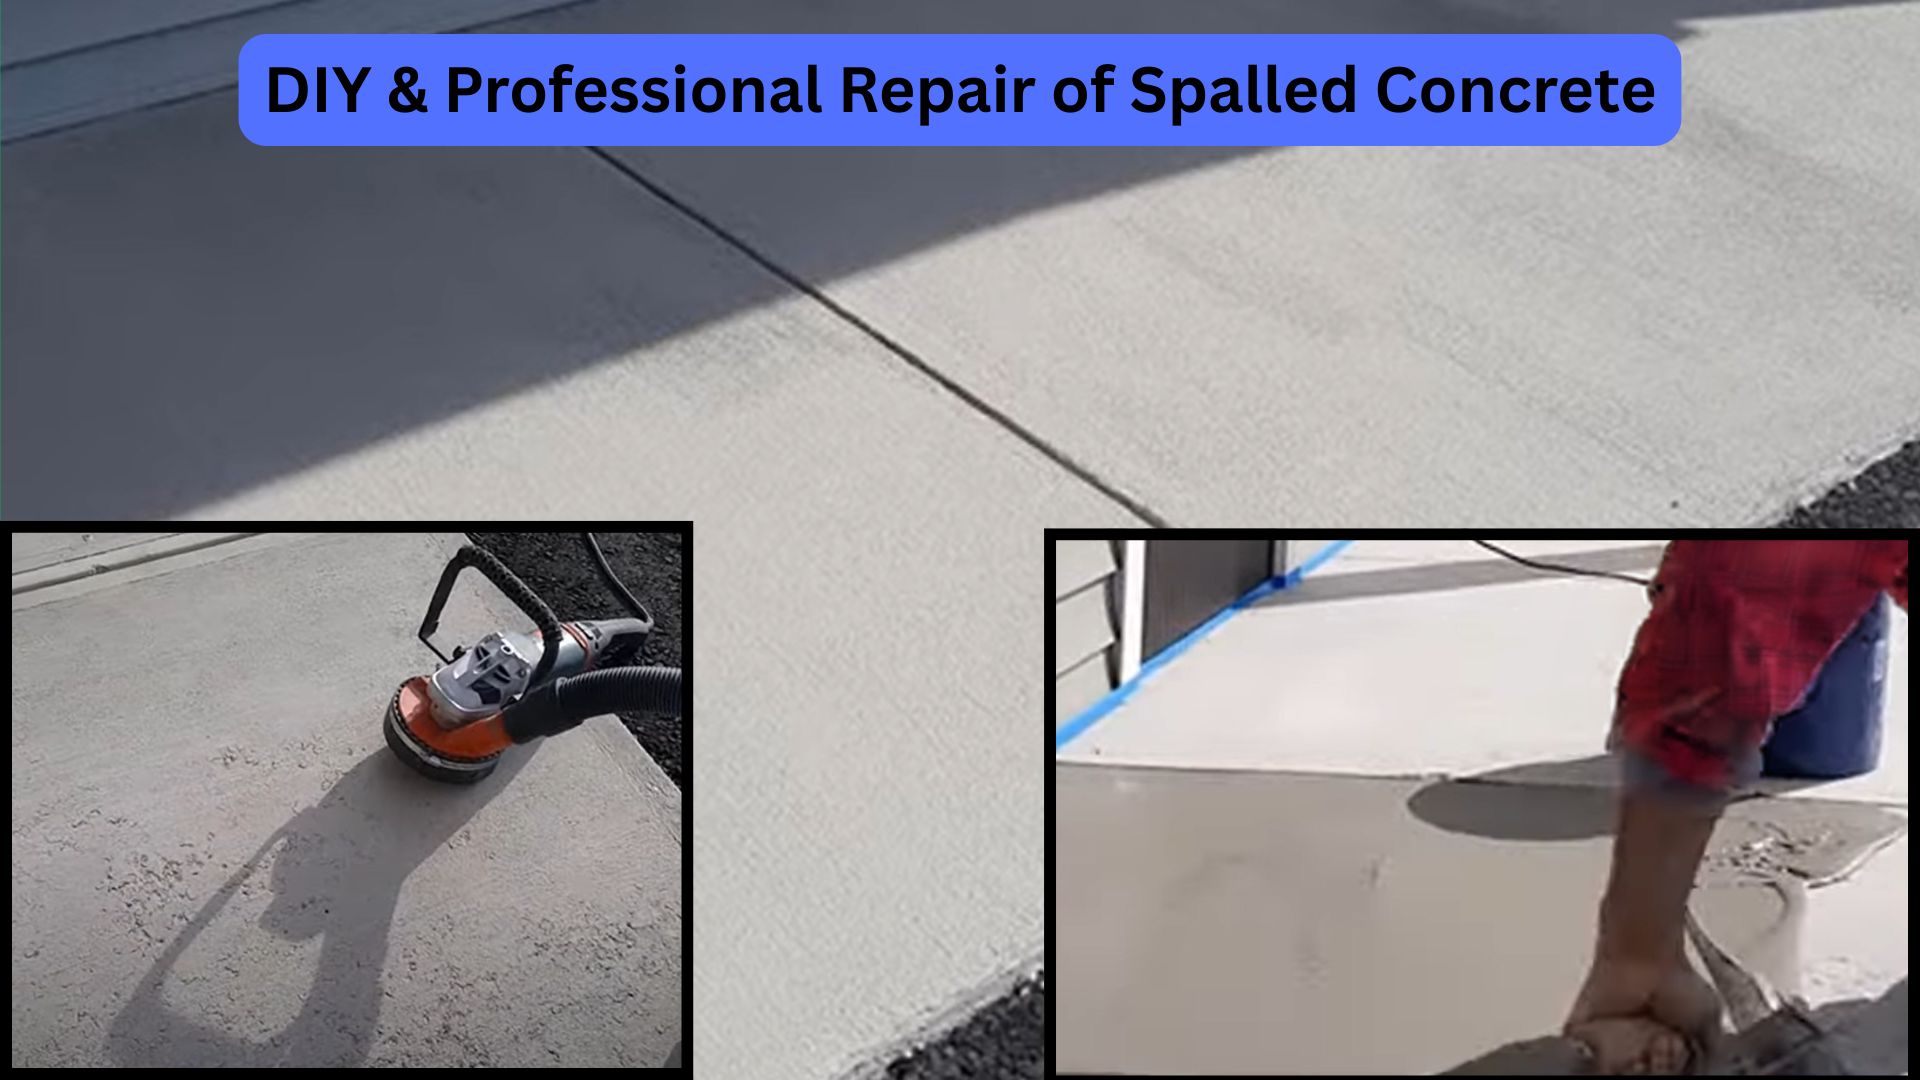
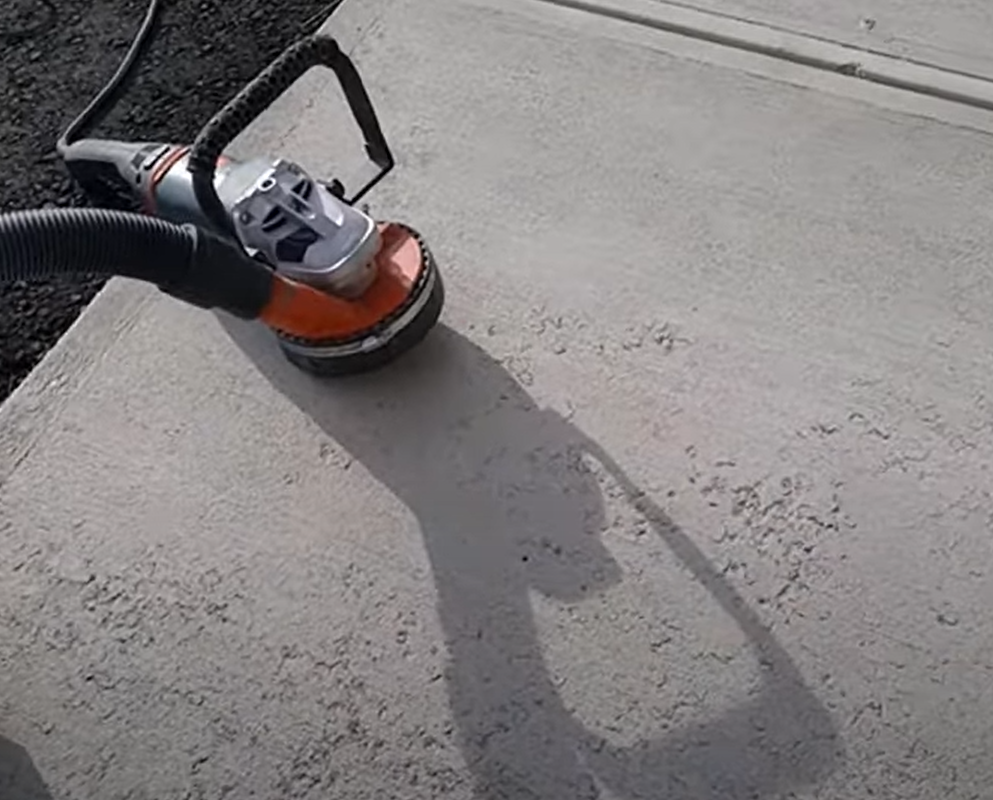
When to Call a Professional
Certain warning signs warrant immediate professional attention:
- Cracks wider than 1/4 inch
- Cracks that continue to widen
- Significant settling or unevenness
- Step cracks (one side higher than the other)
- Water seeping through concrete
- Multiple cracks forming patterns
- Exposed reinforcing steel
The concrete repair specialists at AR Concrete Fayetteville can assess these conditions and recommend appropriate interventions before major damage occurs.
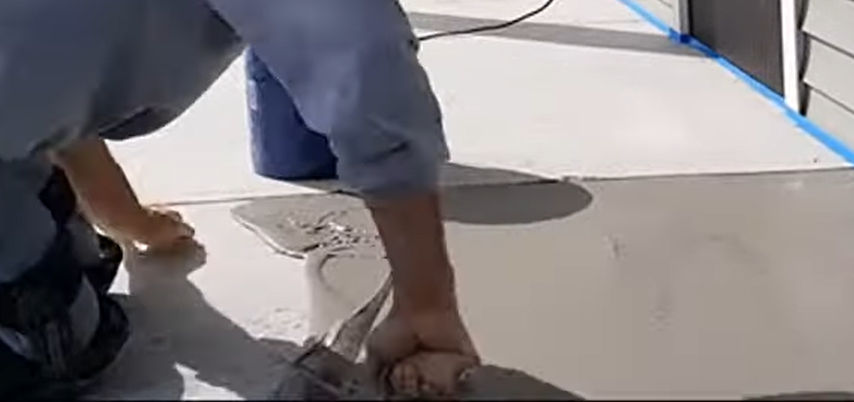
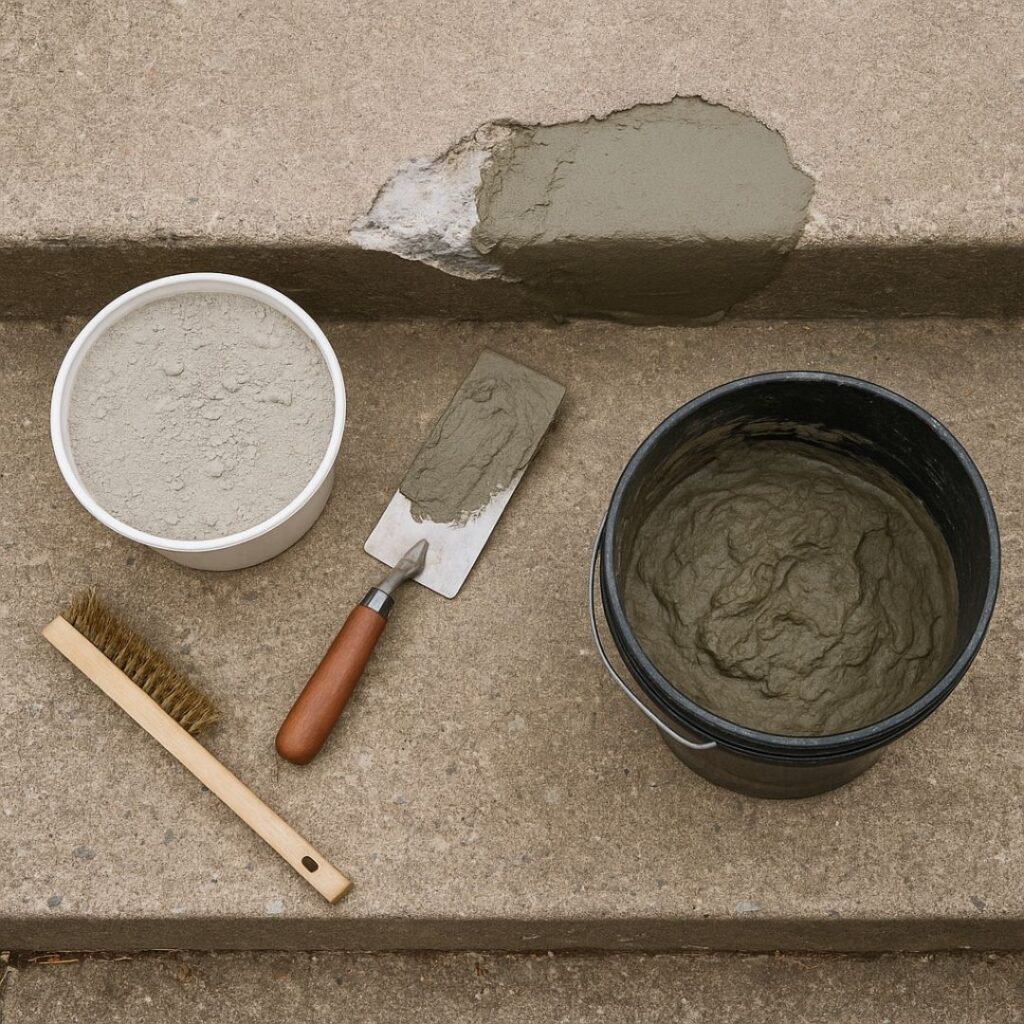
Temporary Mitigation Steps
While waiting for professional repairs, these steps can prevent worsening:
- Clear drainage areas – Ensure water flows away from concrete
- Clean and dry surfaces – Remove standing water
- Apply temporary crack sealer – For small, stable cracks
- Restrict heavy loads – Limit traffic on damaged areas
- Document changes – Continue monitoring and recording changes
These temporary measures help stabilize the situation until permanent repairs can be made.
Preventative Measures for Extended Concrete Life
Proactive maintenance helps prevent early concrete failure signs from developing.
Regular Maintenance Routines
Establish these concrete care habits:
- Seasonal cleaning – Remove debris and stains
- Drainage inspection – Ensure water flows away from concrete
- Sealer reapplication – Follow manufacturer-recommended schedules
- Joint maintenance – Keep joints clean and properly sealed
- Prompt stain removal – Clean spills before they can penetrate
Regular maintenance significantly extends concrete life by preventing the conditions that lead to deterioration.
Environmental Management
Control these environmental factors:
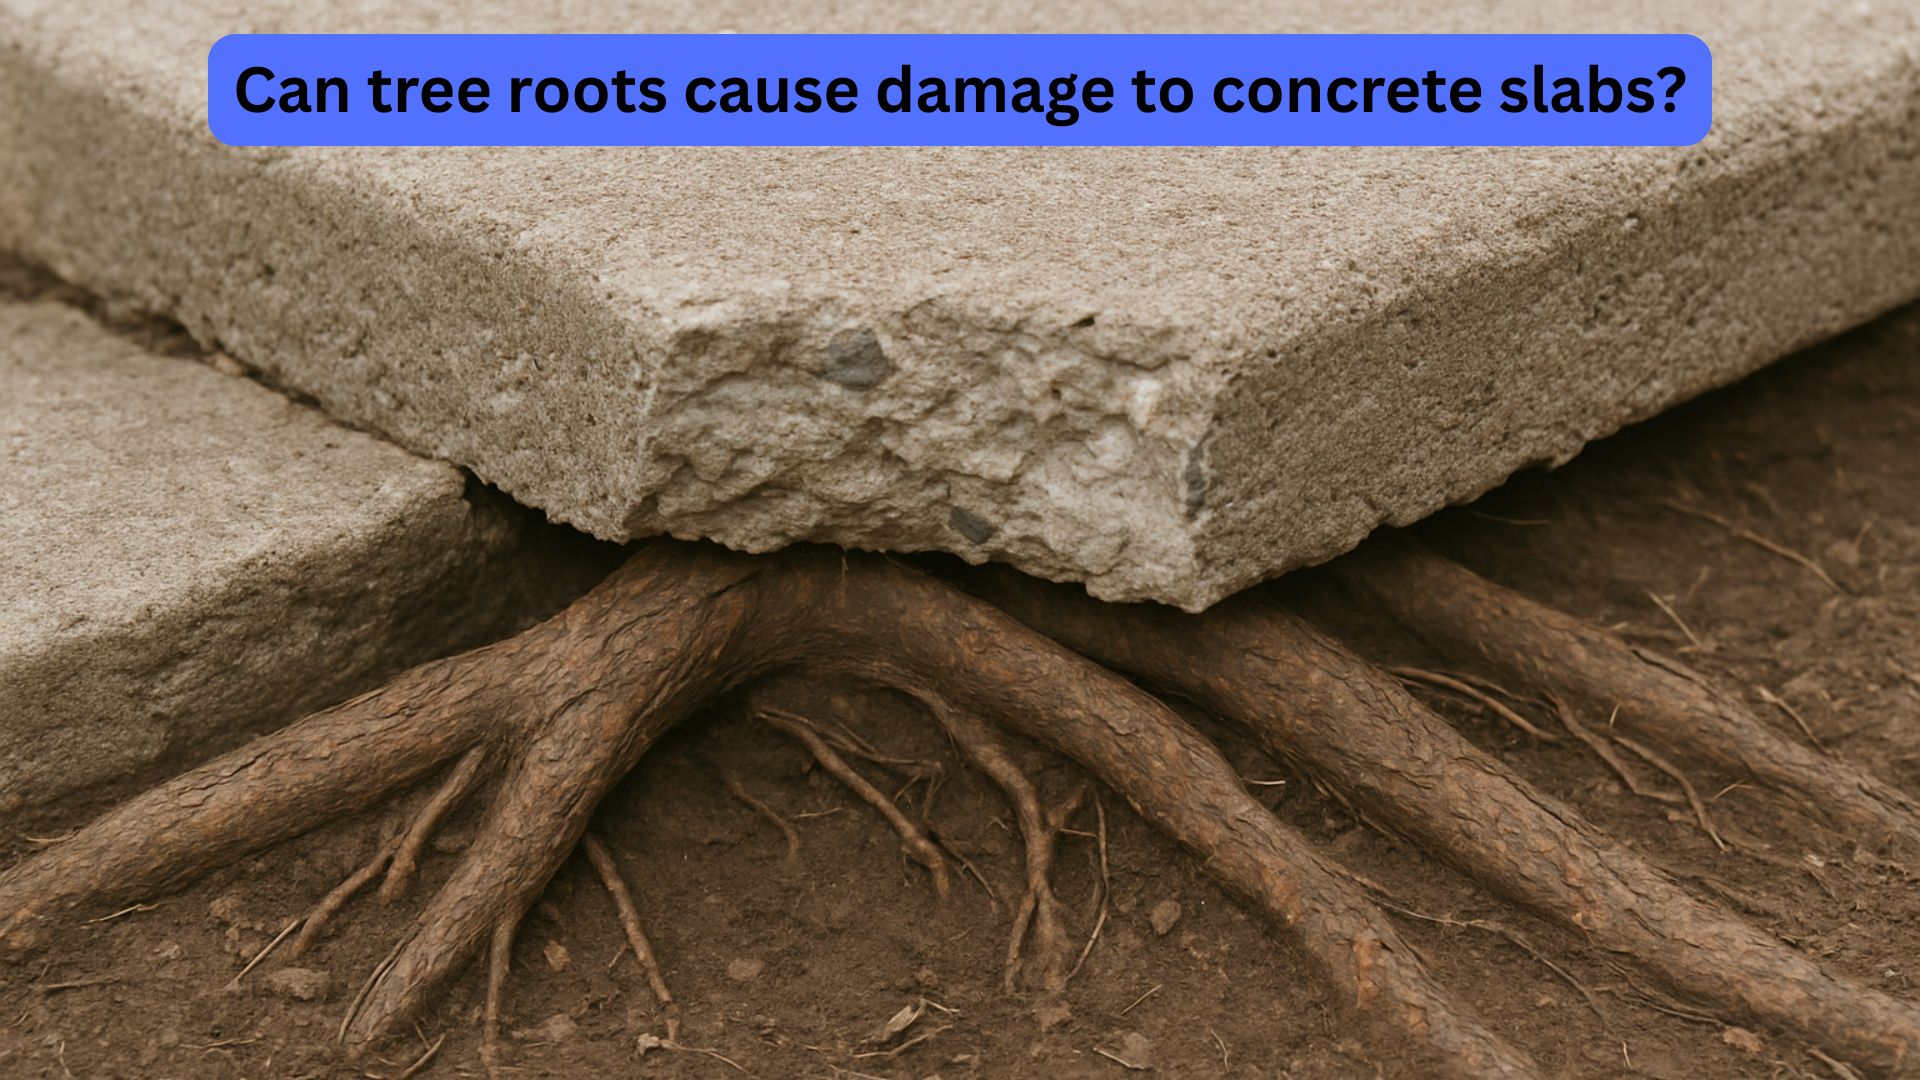
- Water management – Direct drainage away from concrete
- Vegetation control – Prevent root intrusion and reduce organic debris
- Shade management – Trim vegetation to reduce constantly damp areas
- Chemical exposure limitation – Use concrete-safe deicers and cleaning products
- Temperature extremes – Provide shade or insulation where practical
Controlling these environmental factors removes many of the underlying causes of concrete deterioration.
Conclusion
Early signs of concrete failure provide valuable warnings before major structural problems develop. Common indicators include hairline cracking, surface texture changes, discoloration, settlement, and abnormal water behavior on or around concrete surfaces.
Regular inspection focusing on these early warning signs allows for timely intervention, which typically costs significantly less than waiting for major damage to occur. Simple visual checks supplemented by basic tests can help homeowners identify potential issues before they escalate.
When early signs appear, documenting and monitoring the condition helps determine the appropriate response. For minor, stable conditions, simple preventative maintenance may suffice. For progressive deterioration, professional assessment and repair provides the best long-term solution.
By understanding, identifying, and addressing these early concrete failure indicators, property owners can significantly extend the life of their concrete assets while minimizing repair costs and disruption.
What Are the Early Signs of Concrete Failure FAQs
Are all cracks in concrete a sign of structural problems?
No, not all cracks in concrete indicate structural problems. Hairline cracks (thinner than 1/16 inch) that form during initial curing are typically just shrinkage cracks and rarely affect structural integrity. However, cracks that are wider than 1/4 inch, continue to grow over time, form step patterns (where one side is higher than the other), or appear in multiple connected patterns may indicate underlying structural issues that require professional assessment.
How can I tell if water staining on my concrete is a serious problem?
Water staining on concrete becomes a serious concern when it’s persistent despite dry weather, appears in patterns that suggest internal water movement, is accompanied by white powdery deposits (efflorescence) indicating mineral transport through the concrete, creates dark patches that don’t dry at the same rate as surrounding areas, or coincides with developing cracks. Occasional water staining from rain is normal, but persistent dampness signals potential problems with drainage, concrete porosity, or internal water pathways.
How often should concrete be inspected for early failure signs?
Concrete should be inspected for early failure signs at least twice yearly, ideally in early spring and late fall when temperature fluctuations and moisture conditions tend to make problems more visible. Additional inspections should be conducted after extreme weather events, such as heavy rainfall, flooding, or significant temperature changes, and any time you notice changes in appearance or performance. Commercial and critical structures may require more frequent professional inspections, typically quarterly or according to local building codes.